Although not raining the sunsets still have the impending doom clouds overhead
Okay! I finally have dry weather to finish the life lines. All the gate ends were done below so weather and the short Monsoon season we had didn't affect the begging. But the adjustment end needed to be done on the deck after the line was threaded through the stanchions. After looking at several variations on the one-ended Brummel splices I decided on the following for my application.
One issue is the length and diameter of the item you are terminating to is the deciding factor in your use. Larger fittings would have necessitated I make a loop and then wrap it around the fitting. But my fittings would allow a single line through but I needed to make the loop larger than at the gate end.
First adjust the gate hook to 3/4 closed on the adjustment.
When threading through the stanchions, I put a second cover over the line to have extra protection at the winches. I will whip the ends to finish the project.
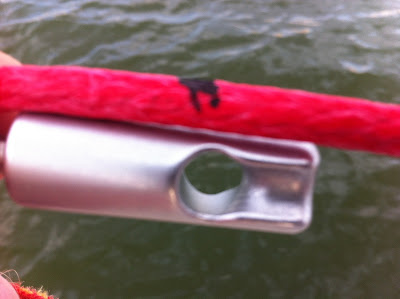
Pull the life line and the turnbuckle together tight. You will now mark ("P) a spot 3 inches longer than the location of the eye on the Johnson fitting (3" for 5/16 and almost 4" for 3/8). Make another mark 16 inches further past mark "P" and cut the line here (20" +- from the fitting eye).
Pull the life line and the turnbuckle tight once again and make a mark "A" where the eye in the fitting is. If the turnbuckle and pelican hook are not adjusted as described you will make the lines too short!
Remove the fitting from the turnbuckle and lay the fitting with the end threads at the mark "A"
Make mark "B" one length of the threads toward the bitter end.
Make mark "C" one length of the threads toward the stanchion end.
Make mark "C" one length of the threads toward the stanchion end.
MAKE SURE 6 ON EACH SIDE AND DO NOT DAMAGE THE INDIVIDUAL THREADS.
MAKE SURE 6 ON EACH SIDE AND DO NOT DAMAGE THE INDIVIDUAL THREADS.
Pull bitter end through opening at Mark "B" making the line flip.
ease line over fitting
This will reconstitute the line
Pull "B" and "C" together locking the line.
RACING RULES MUST BE CHECKED IF NEEDED
I am hoping for longevity so I will cover the complete line up to the fitting.
I put two whips on this end. One at the splice after stitching to lock it and one just before the fitting.
(as seen on the top line) Repeat 3 more times.
A final note: I used 5/16 Endura braid on the lower lines and 3/8 on the upper lines, 3/8 would fit both with a little effort. Be careful when snaking it through the stanchions not to "pile" the sheath up behind the eye of the stanchion. Check and adjust stanchions as needed to lower the chafe against the standing rigging, winches, and sheets. Use protection from abrasion if needed to insure a long life. Recycle your old life lines into a theft resistant painter for your dinghy, SSB antennae, or other items for your spares kit.
Over all it took about 6 hours of casual working time, or 4 Rumsets.


No comments:
Post a Comment