Feeling blue is better than feeling green. We currently have green water under the keel.


We are going to take two original photos and give them a make over.
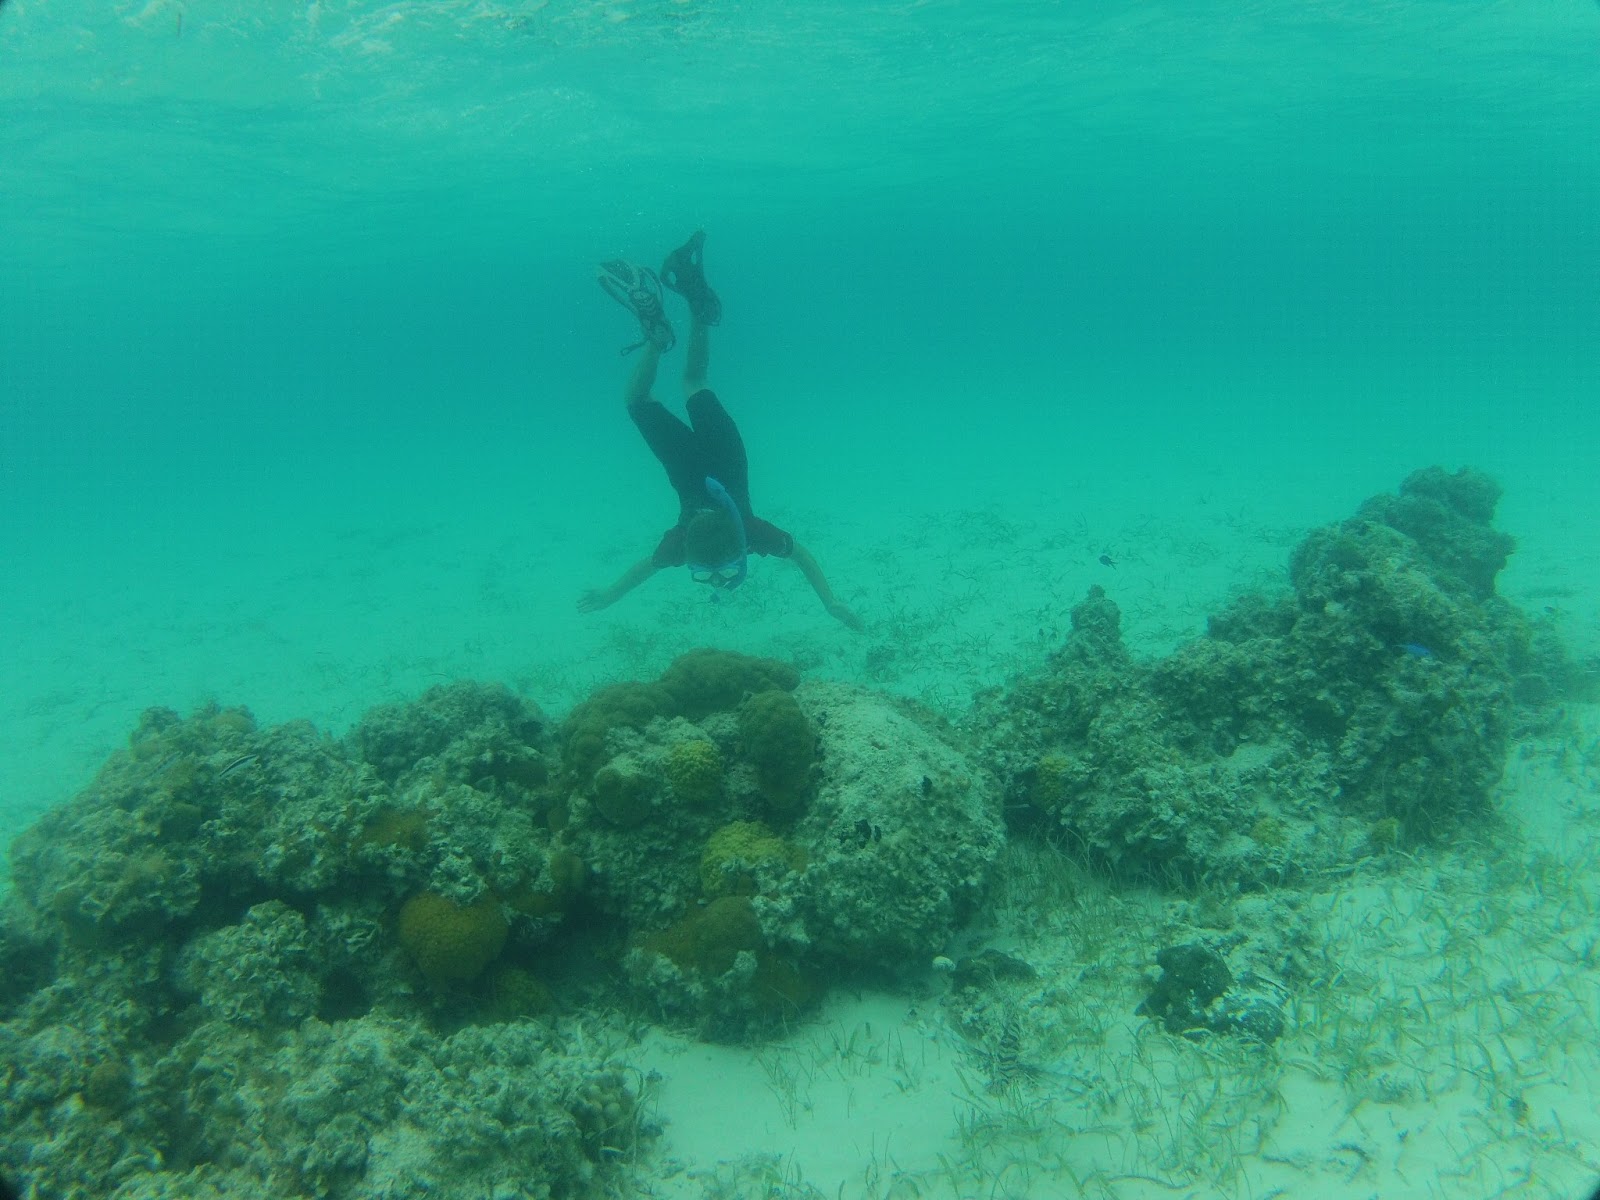
Both were taken with the GoPro HD (with blurfix lens kit) while snorkeling
We made a post a couple weeks back about the cameras we use on s/v Gemini Dreams. Trying to get a great shot is often a secondary reward to diving down with a spear to collect dinner. Especially if you strap the GoPro HD to your chest and push a couple buttons to take pics every two seconds. You think I can sort them out later. Be forewarned when trying to sort out four thousand pictures you may need another wind generator. There all all sorts of guides to making the perfect shot. We have not the ability or knowledge to lead you down that road. We do on the other flipper, take our random mediocre shot and doctor it up to be more presentable occasionally. This is where we can give a little help.
If you dive less than 10 feet and your underwater camera will take lens filters use a "shallow water filter". If you dive deeper than 15 feet use the standard "underwater filter". But for us this would have been almost $175.00 in filters just for the GoPro HD. Our back up plan is to use the program we have had around for a while, Photoshop CS 5. Our use of Photoshop CS started way back around Photoshop 3 but we have never delved deep into its uses. Our suggestion is to find a less costly program that you like and put the extra three to four hundred dollars into the kitty.
Knowing that my little out of focus diver will never be an awesome photo. We strike off trying to make a better blog photo than original to convey our adventure. This action we will call plan "A"

Open photo in Photoshop CS

Select cropping tool and crop image keeping focal point in center box

Crop

Make a duplicate layer

Naming the layer is trivial but keeping on the new layer is critical

Go to Image, adjustments, level

select Auto in the pop up box

The levels will be click ok to keep the changes

Take a moment and use the Auto Contrast feature

Now to set the size
If any of your readers have mentioned their back ground size this is a good size. If not the default picture size on your blog is best (ie ours is 400) for quicker loading. Blogger and some other sites auto size and load smaller than actual for your blog. If this is true and you want the originals available in you host then allow them to do all the resizing for you.

Do not unlock the proportions, this way when you set the width the height is automatically set

If your online blogger is handling your photo size and quality let them. If you need to choose the quality because you are hosting your own blog then save for 50-60% quality.

both photos side by side, you can see the slight height difference due to my quick cropping.
The photo of the airplane above is from Staniel Cay in the Bahamas. I was going to use the carlos lehder plane from Normans Cay but can't find those shots at the moment. Can you see the Fisher King? If you happen to cruise with a mermaid I'm sure she would pose gracefully near the fuselage of the plane for the photo. Myself on the other flipper have a hunter that is more worried he may miss a grouper. Even though you are only in the shallow 6-7 foot water and the corals and artifacts have a cool blue tint. With the sun directly over head and items at arms length they have color. This color the camera can not pick up horizontally from several feet. I am posting plan "B" for color corrections below. (For when plan "A" doesn't satisfy your needs) During this tutorial we will use a few "short cuts".

Open the photo you want to correct

Your first short cut, press Control + J twice to duplicate the layer so that you see three layers in the Layers palette. (Background, Layer 1, Layer 1 copy in Photoshop CS 5)

Select Layer 1 in the middle of the three layers.

Choose Edit > Fill Layer

Select the 50% gray option. Leave the other settings at their defaults and Press OK to fill this layer with gray.

Then, change the layer blend mode to Luminosity.

Click once on the topmost layer (named Layer 1 copy). Then merge that layer down with the gray layer under it by pressing Control + E.(shortcut 2)

Now, create a new layer on top of all the others.

Click on the foreground color swatch and set the color to R: 255 G: 0 B:0.


Then, fill this new layer with that color by pressing Alt + Backspace (shortcut #3).
Finally, set the layer blend mode to Multiply.

Click once on the top red layer and merge it with the photo layer below it by pressing Control + E again.

Now, set the blend mode of the top copy of the photo (which should be called Layer 1) to Screen.

Finally, merge the layer with the original photo layer below it by pressing Control + E. This should leave you with just one layer named Background.

The last step is really simple. Just choose Image > Adjustments > Auto Levels to automatically give some more color and contrast to the photo. You can also run the outcome of this method through the plan "A" system and decide if you like the outcome.


Decide if you want to adjust the image size or leave it for the robots

Save for web or leave it for the robots

If you decide to re-size and save for web use 50-60%

Corrected image using plan"B"


original and corrected image using plan "A" both cooooool blue


Starfish using plan "B"


Lion Fish using plan "B"
Hopefully you can save this link and use it to edit your photos in the future. Feel free to post a comment if you need further explanation or I need to rephrase some of the post. So many pictures, I hope they are in the correct order.
Wes
I looked up the software and it sure is crazy expensive.
ReplyDeleteBut WOW! Those pictures are amazing! They turned out great!